That’s what my friends call it. I call it an opportunity.
Oklahoma has a few trout streams and they usually contain too many people for my taste. I prefer my own company and hence, try to find overlooked or ignored places to fish. And catching trout is fun, I just prefer another species at this moment in my life.
I’ve spent thousands of dollars chasing the Micropterus dolomieu velox or Neosho-strain Smallmouth bass. I don’t see an end to it in the foreseeable future. Sure, I could go to the North Country and catch really big Smallmouth bass, and I’ve done that many times, but there’s something special to seeking out our native Smallmouth bass.
I don’t go with the “societal flow” or “social norms”, in fact, I could care less. I am on this Earth for a certain period of time and plan to use as much of that time as I can wisely. So I prefer to chase whatever species I am interested/fascinated in. And if I do it right, you will never know I was there. Since I enjoy my solitude and “soul time”, I don’t always give trip reports or name locations of where I’m fishing…and I think most readers understand the WHY behind it. It’s my way of recharging my internal batteries.
I enjoy fishing immensely and hope to continue doing so for years to come. I don’t care if its a really small creek leading to a stream. And if I’ve never been there…that’s a bonus.
So…Ditch Water huh? You never know what you’ll encounter. You will never know what’s around the creek/stream/river bend unless you go. And I WILL GO.
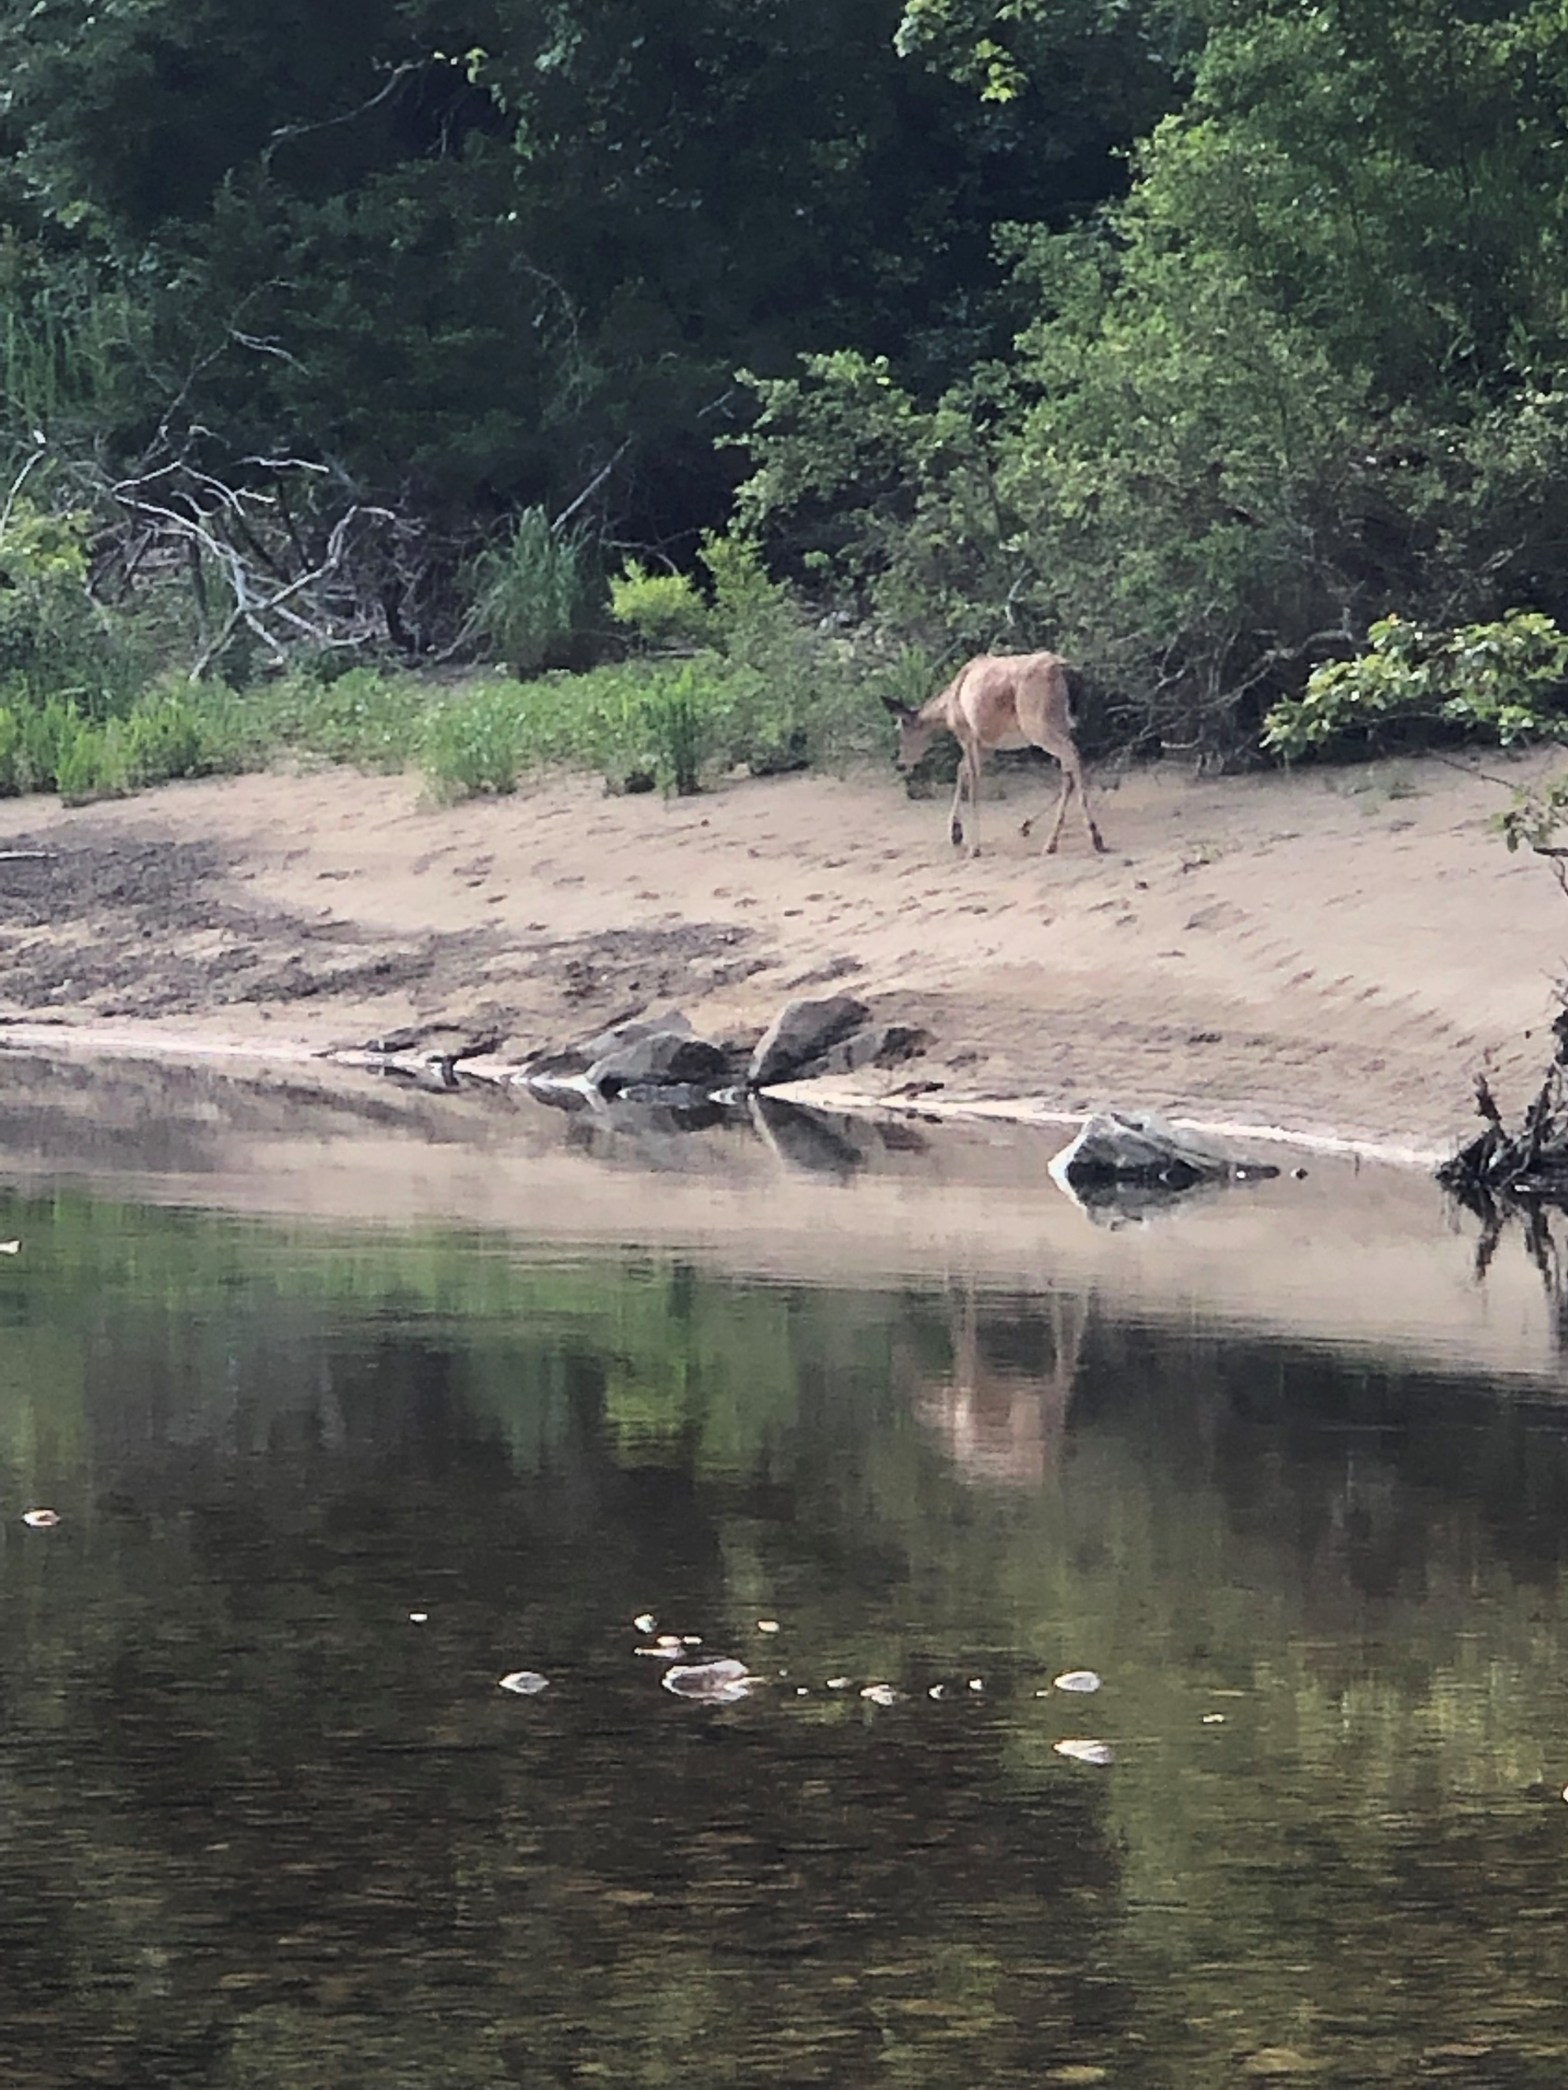
I have a natural inclination to observe things. And I find it fascinating to watch wildlife. I’m 50 years old, yet still find wonderment in seeing a deer or a fish or bird, or anything really. And I’ve seen thousands of deer.
As I was in the middle of the river fishing, I kept hearing subtle noises coming from the bank behind me. I would peek over my shoulder every once in awhile to try and locate the source. Once I spotted the deer as she quietly browsed on the shoreline foliage, I stopped fishing and perched myself on top of a rock and just watched.
I observed how she was moving, what she was feeding on and how alert she was. No doubt she knew I was there, but still, I dared not move. I was in awe and quite content to just watch. Her mannerisms hinted at wariness, as well it should. I was no threat to her but I’m sure she had a Ph.D in human behavior and was ready to bolt to safety in an instant.
All told, I probably sat there for 10 minutes just watching. Eventually her path took her around the bend in the river. I stood up, stretched and continued fishing. Happy and thankful for the encounter…
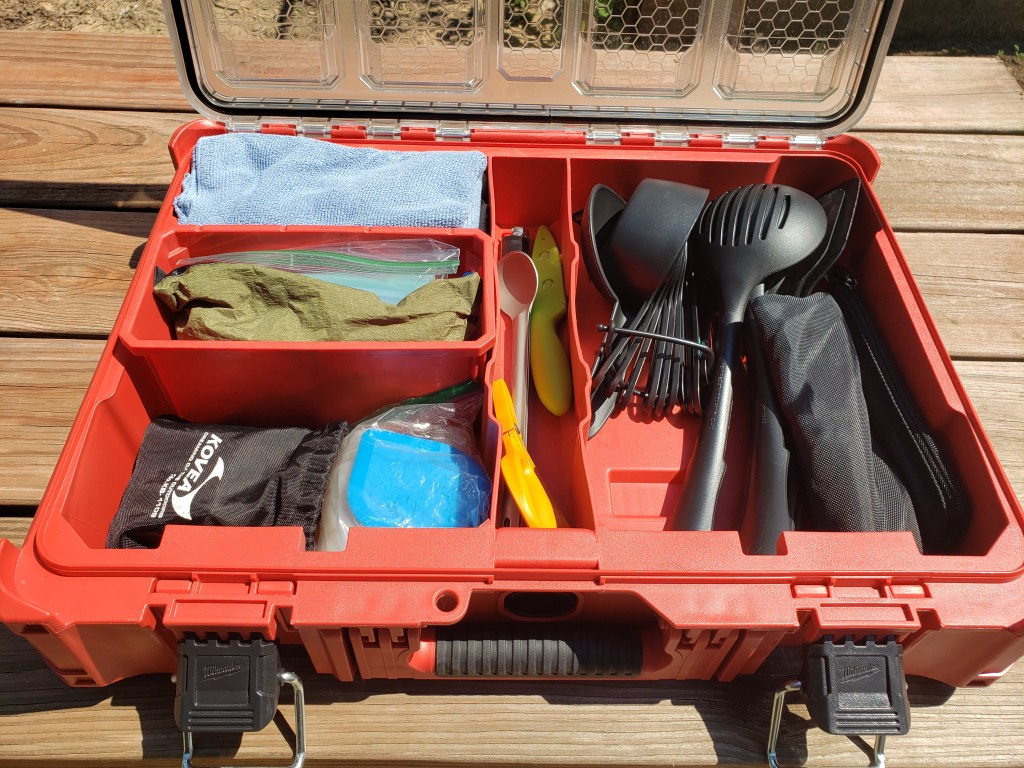
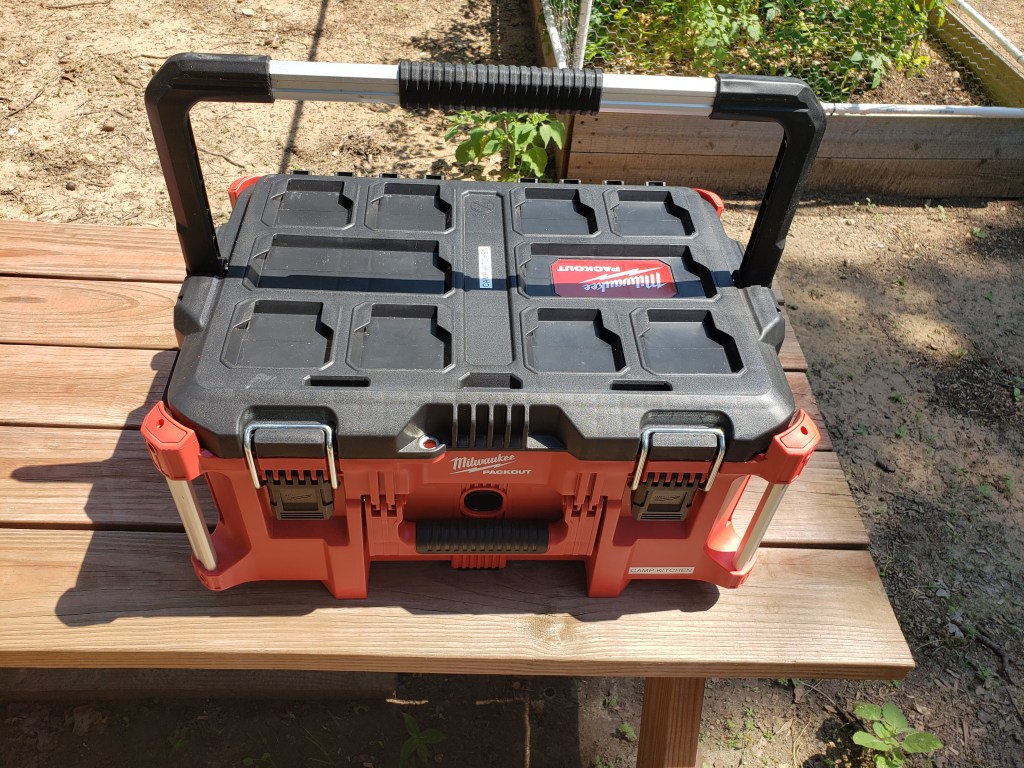
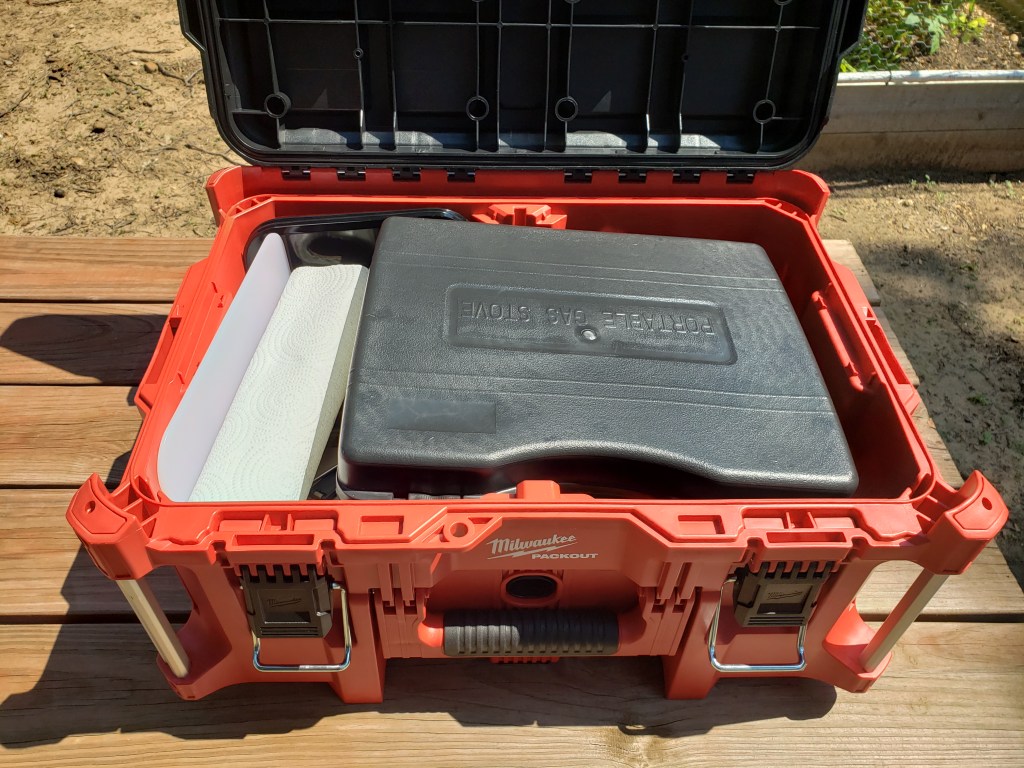
Yes, we used Milwaukee Packout Toolboxes for our Camp Kitchen as well. Told you we loved these boxes! Look at the “bright side”, the boxes are red so it’s hard to misplace or leave them behind when packing up to leave!
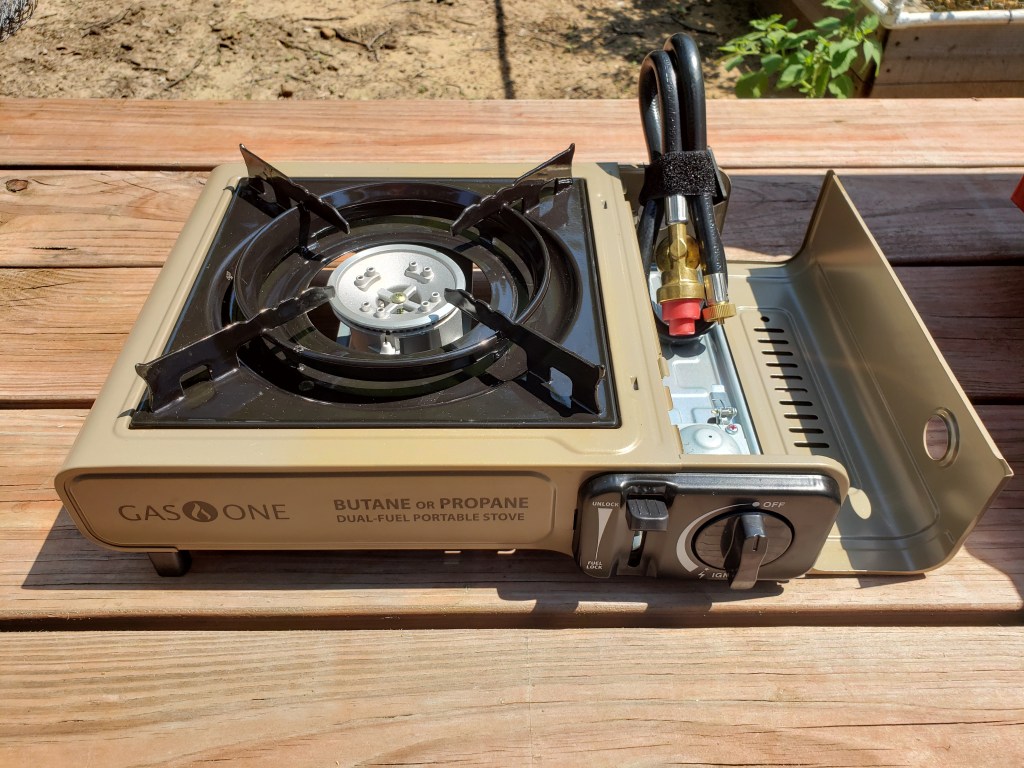
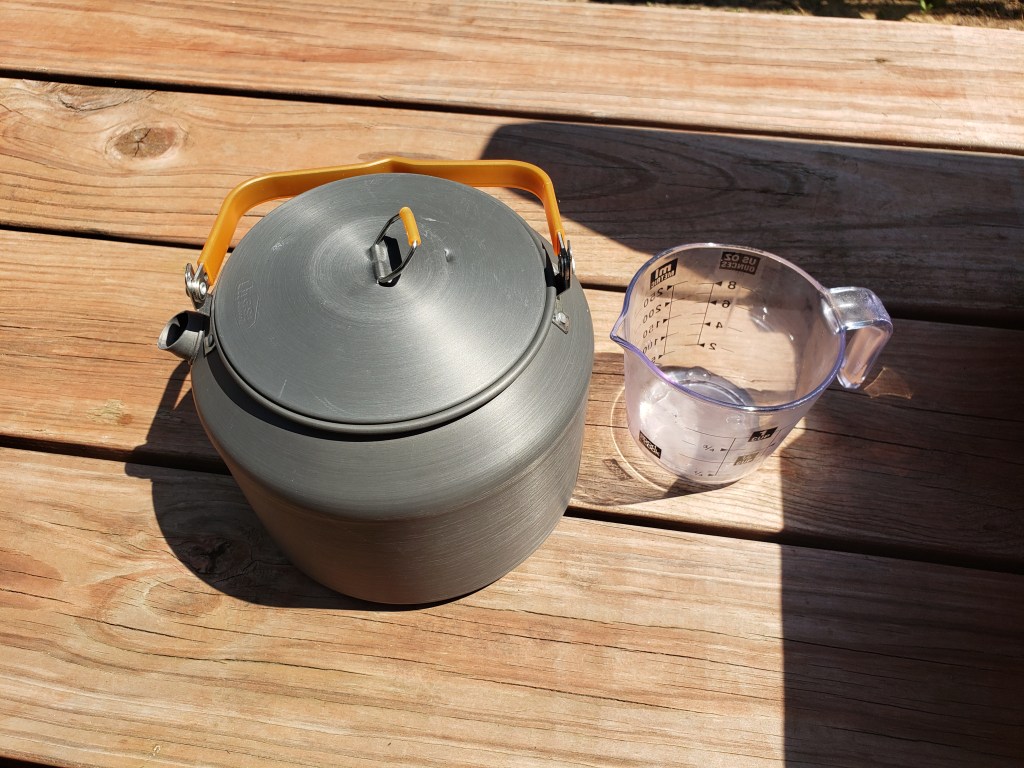
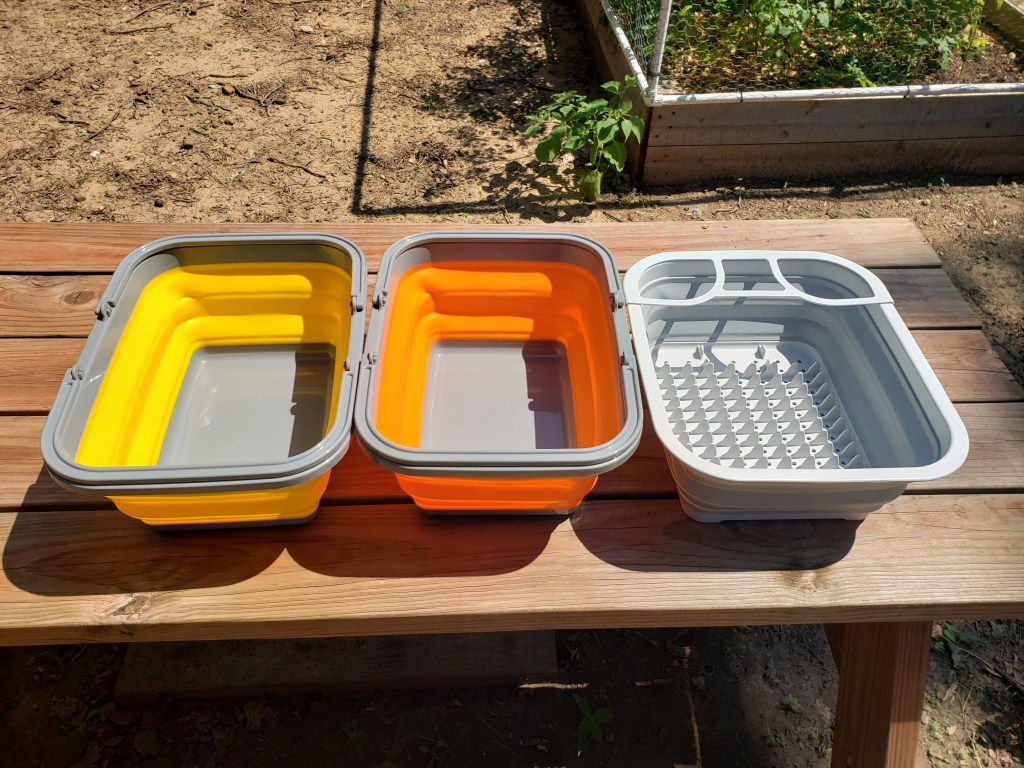
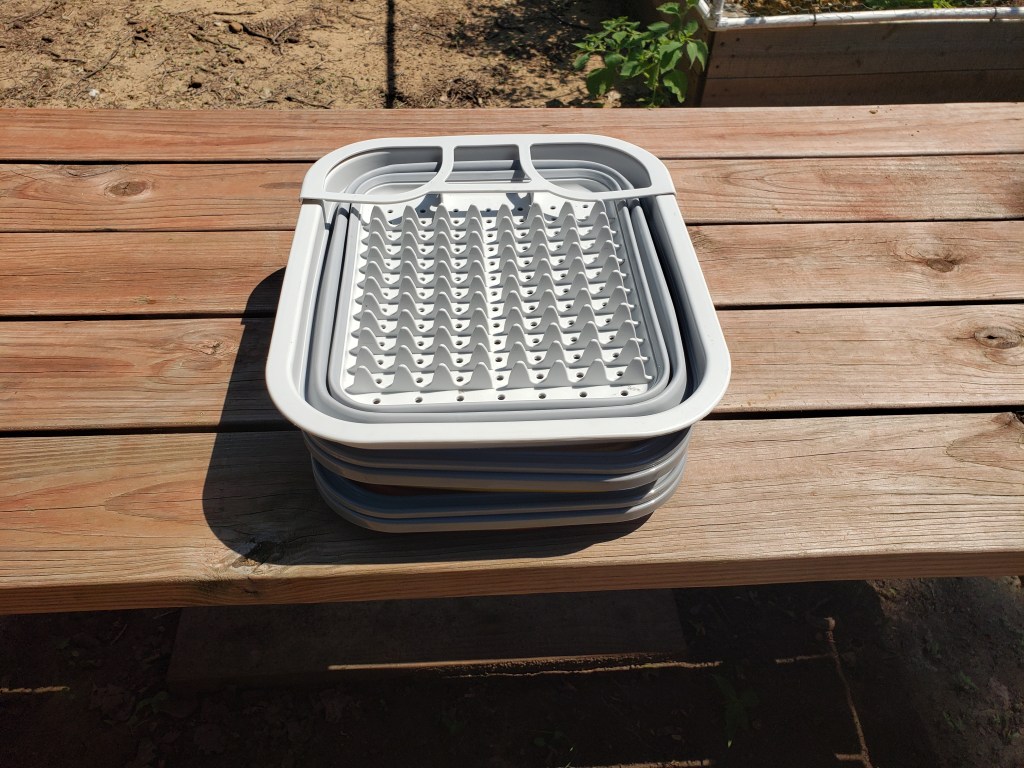
The top box is for utensils, dish towels, soap and other bits and bobs.Keeps things neat and organized. The clear lid is a plus.Everything is labelled.Sturdy handle makes it easy to carry.Everything packed inside.Pots, pans, plates etc.Our single burner cook stove.A very quiet stove. Suited our needs perfectly.Cheap cook set.Our skilletOur GSI 2L kettle for boiling water.Katadyn Hiker Pro in case we need water when off grid camping.Our in-camp washing setup. I am a big believer in proper hygiene even when camping.CollapsibleReady for transport.
We like the fact that these toolboxes can connect to each other in multiple variations. It really helps keep things together both in camp and during transport. In fact, we stacked all of these boxes on top of one another in the gear room so we know where everything is.
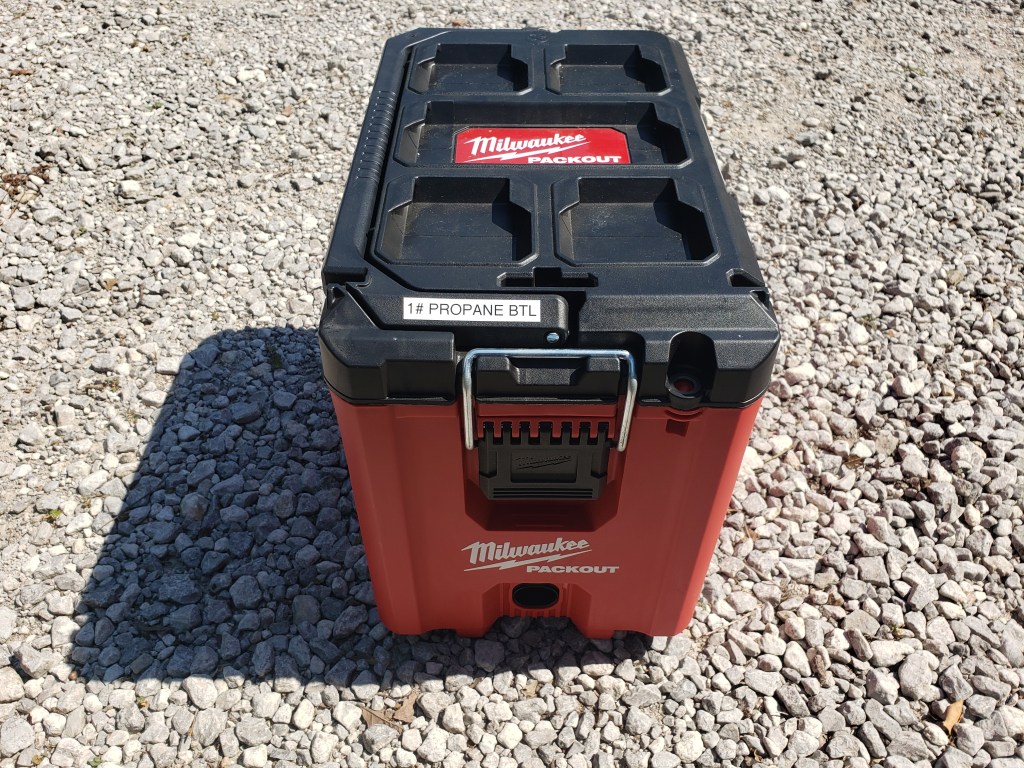
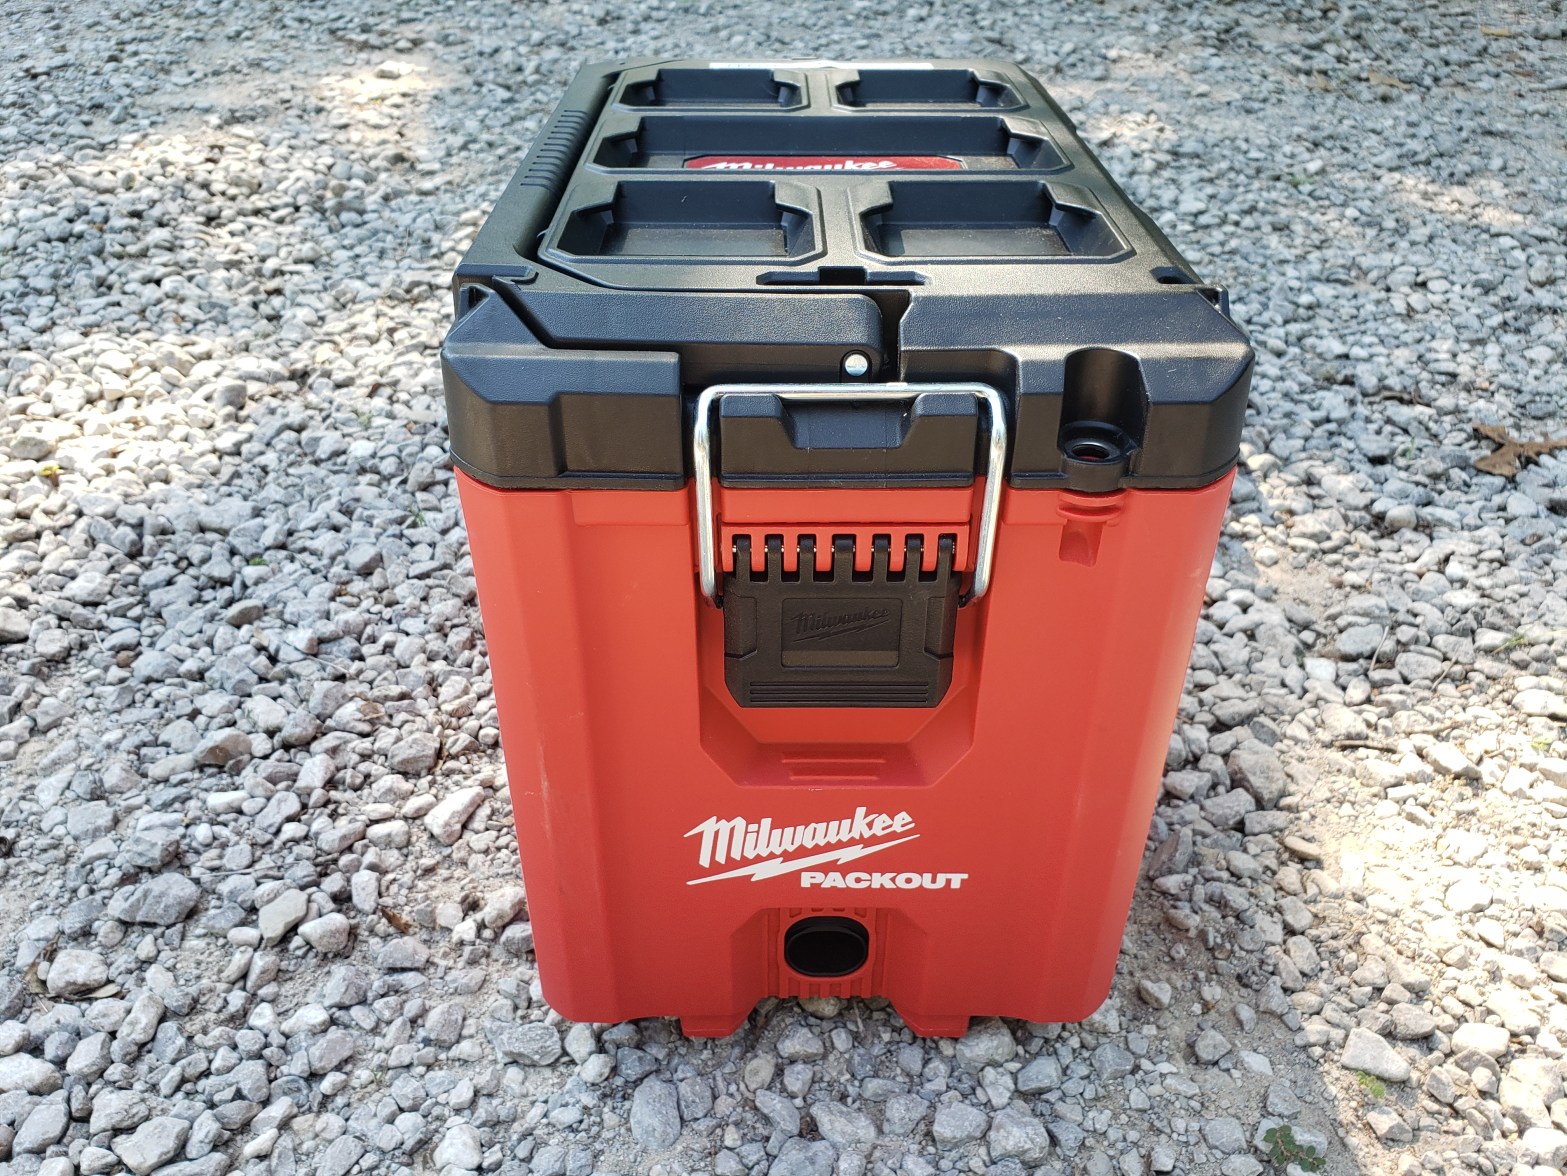
Currently we use the 1 pound Coleman Propane bottles for our camp stove. We are kicking around the idea of getting a small 5 pound propane tank since it’s a cheaper option in the long run.
I had purchased an extra one of these Milwaukee Packout Tool Boxes because I really like the concept behind them. After finishing the Auxiliary Power Supply Box I was sitting there looking at this other box and was wondering if we could store our 1# propane bottles inside. These boxes come with internal dividers so I put them in place and quickly realized that the propane bottles fit perfectly with room to spare.
Camping Fuel Storage Box.We love these boxes.
As you can see, there is plenty of room for 5 or 6 of the 1# Coleman Propane bottles as well as a few canisters for our backup backpacking stove (Kovea Spider) and a roll of paper towels.
This little experiment worked well for us. And keeping with the modular approach…it’s easy to transport and keeps the bottles from rolling around or creating clutter by stashing them here and there. By keeping our camping system broken down into separate components it made loading and unloading the vehicle easier for both of us. Before, we used a large Rubbermaid Action Packer to store everything and it was a real pain to get everything to fit and became too heavy for one person to lift.
Our original plan for this trip was to use a 12VDC refrigerator but bad planning on my part meant if we ordered one it would not arrive in time.
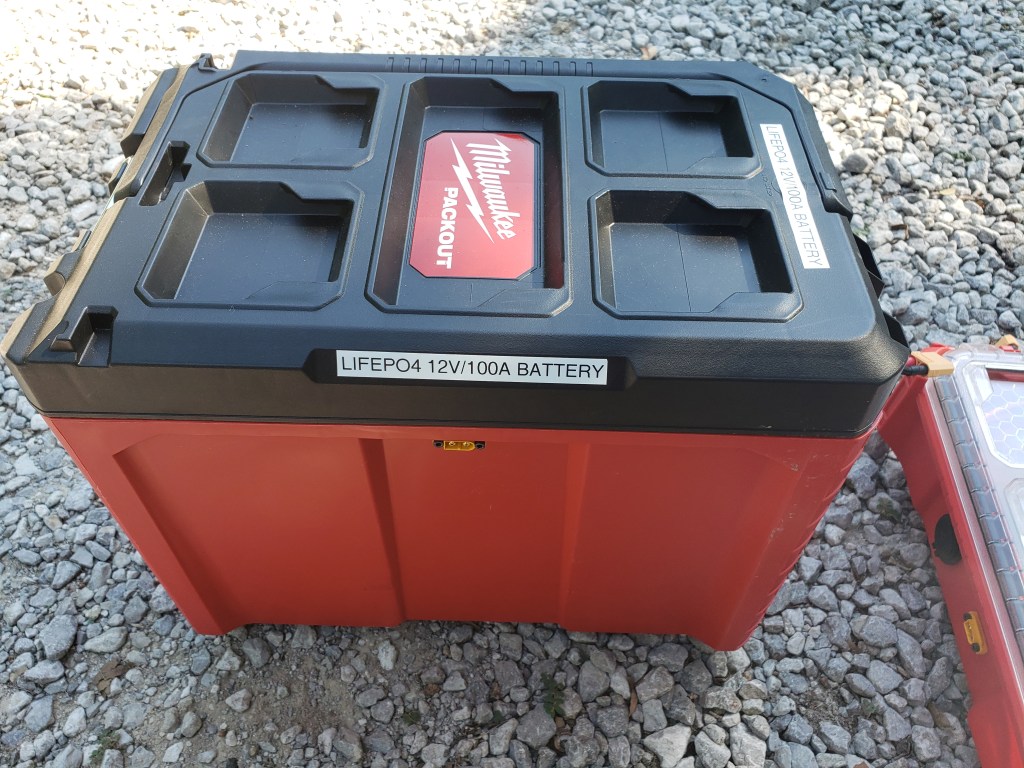
The core of this system is built upon a SOK Battery 12VDC/100A LiFePO4 battery. Yes, it is expensive, but we needed a battery that was rugged, user serviceable and had a depth of discharge that a LiFePO4 battery offers vs a standard 12VDC AGM battery. Our previous 12VDC/100A AGM battery weighed 64 pounds vs 28 pounds for the SOK battery. The SOK is encased in a steel enclosure with a built-in BMS (battery management system) and has 4 replaceable cells inside. I can’t repair a faulty AGM battery.
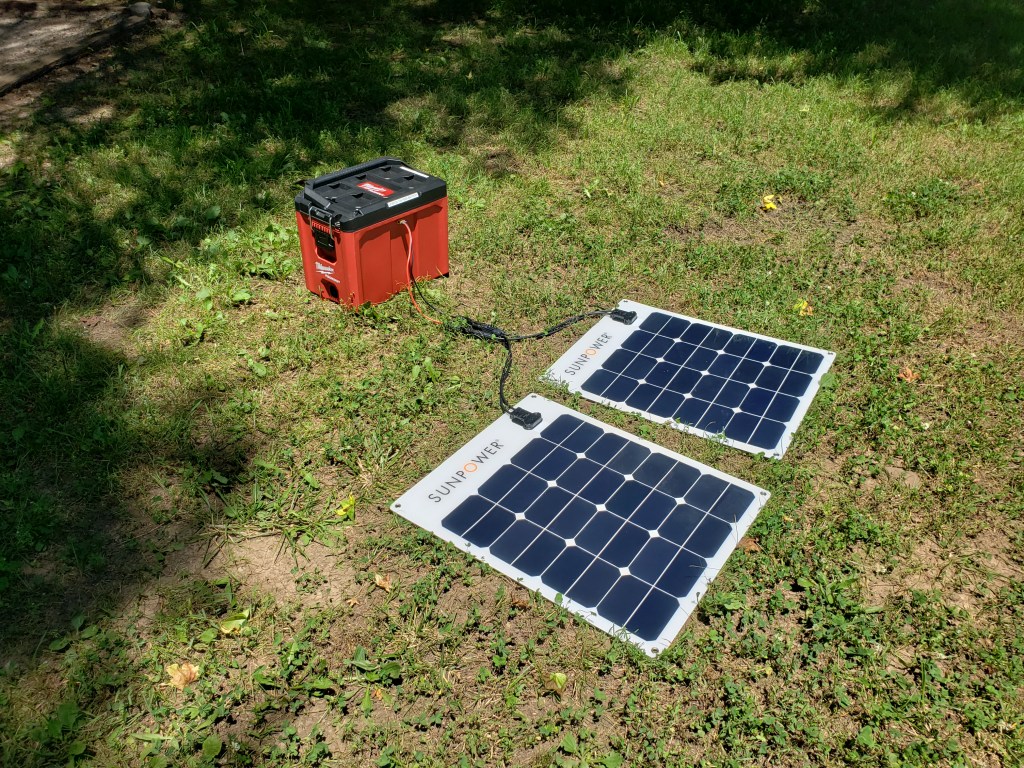
I chose a Milwaukee Packout Toolbox to house the battery. Below the lid is an XT60 connector so the battery can be charged via solar panels.I added a BlueSea fuse and a Victron 75/15A MPPT solar charge controller.This was a smaller Milwaukee Packout Toolbox I used to build a “Breakout Box” for multiple charging options. I added a dual USB 3.0 port, a switch, another dual USB 2.0 port and a 12VDC cigarette lighter port. When driving the car, I can charge the battery via the cigarette lighter port if needed.On the other side I added Anderson Power Pole connectors and another XT60 port for various charging options.Inside the Breakout Box I added a BlueSea Fuse Panel to keep things neat and organized. Each port goes to a separate fuse block. It also holds various charging cables and a Voltaic Sytems USB Touchlight.Complete unit.The battery and breakout box are connected via an XT90 connector.
The main benefit for us was a modular approach, lightweight, user serviceable, 80-90% depth of discharge and a rugged build. Not to mention this battery has a 7 year warranty and 4000-8000 charge cycles! 12VDC AGM batteries are heavy and the depth of discharge is commonly quoted at 50% but reading the manufacturers engineering specifications, you will note that a lot of them say that 50% depth of discharge is 12.2 volts.
I am also an amateur radio operator and like to operate in parks and such so I needed the added capability of a bigger battery.
On this trip we brought a laptop to edit photos and videos, the navigation tablet, 2 cell phones and 2 GoPro’s as well as various other USB powered items. I do not like using the main vehicle starting battery to charge things unless the vehicle is being driven so it made sense to bring a separate battery for our charging needs.
We utilized 2 SunPower 50 watt, thin, flexible solar panels while in camp to keep the battery topped off.The Victron MPPT charge controller had BlueTooth connectivity so I could easily check the charge status on my phone anytime I wanted.
We had all the power we needed or wanted for the duration of the trip. If we decide to get a 12VDC refrigerator in the future I think this battery can handle it.
The battery and breakout box ride behind the passenger seat while the solar panels ride behind the drivers seat. Just like a canoe or kayak, we try to keep the load balanced in the vehicle.
Well, that’s a snap shot of our Auxiliary Power Supply while camping. Maybe it will give you some ideas! Thanks for reading…
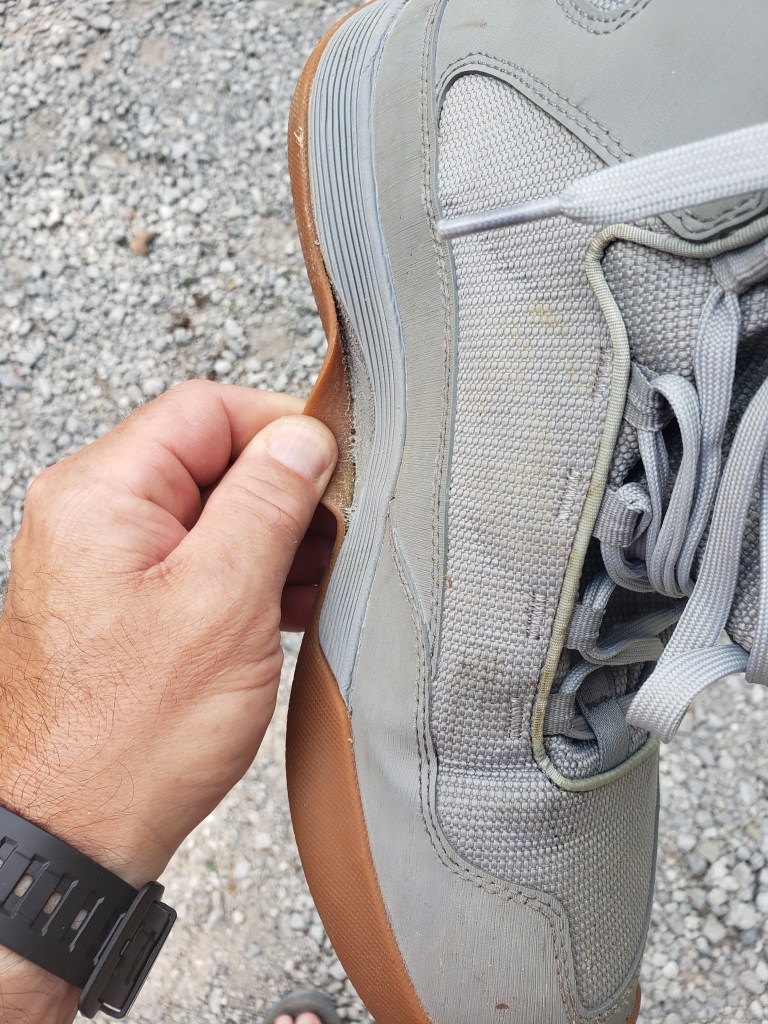
I bought these boots for wet wading back in 2018 and fished them hard for the 2018, 2019, 2020 and now the 2021 season. After countless miles the soles have started to delaminate.
Both boots are delaminating at this location.The left boot is worse than the right one.
I have looked at buying either the Simms Flyweight boot or the Simms Freesalt boot to replace these. I have used ShoeGoo to fix the heel on the right boot before but it did not hold so I may find a local shoe repair business to see what they can do to fix these. The uppers are holding up really well and the boot is still the most comfortable I’ve worn so I don’t want to give up on these boots or waste money on another pair.
Time to use my Google-Fu and find a local cobbler!
Next stop was the Sand Bar Access and Campground. With it being after 4pm we opted to grab a campsite. There was only 2 other sites taken when we arrived so we grabbed one that was away from everyone else. Again, no running water and only pit toilets for $15 per night. The campsites were spacious but poison ivy was everywhere.
This area also has a Day Use Only Area and it was packed! Apparently it is a favorite swimming hole for the locals and they were everywhere on both sides of the river. With it being our last day, we opted to hang out in camp, cook dinner and get organized for the trip home. We would have preferred fishing this section but there was just too many people around.
It didn’t take long for the campground to fill up with all sorts of people. I’ll never understand why people have to drive through a forest and into a campground with their stereos maxed out. Campground etiquette was out the window! Some guy decided to start chopping wood at 10:30 pm. It literally sounded like he was building a log cabin.
We slept fitfully until 1:30am when some locals in a truck showed up, again with their stereo blasting and were trying to party at the river. Someone at the other end of the campground got up and started screaming at them at which point they promptly turned the stereo off and left. Finally we could get some sleep. NOPE!
From two tent sites away a little girl woke up screaming that she was afraid of the dark! And I do mean SCREAMING! Her mother ended up packing up and leaving.
We slept till 5:30 and packed up and headed home. If I ever camp there again it won’t be during summer. Probably early Spring or Fall.
Again, sticking to our original tenet of exploring new roads and areas, we chose a route home that was off the beaten path. We gathered a lot of new information on this river and thoroughly enjoyed fishing it. We became familiar with the GaiaGPS app which was a definite asset to the trip, especially since we didn’t have cell service for most of our trip. We consider the cost of the upgraded app money well spent. I’m sure we will be back.
I hope you enjoyed this series of blog posts. There will be a few additional “addendum” blog posts to cover some of the gear we used and why. Thanks for reading!
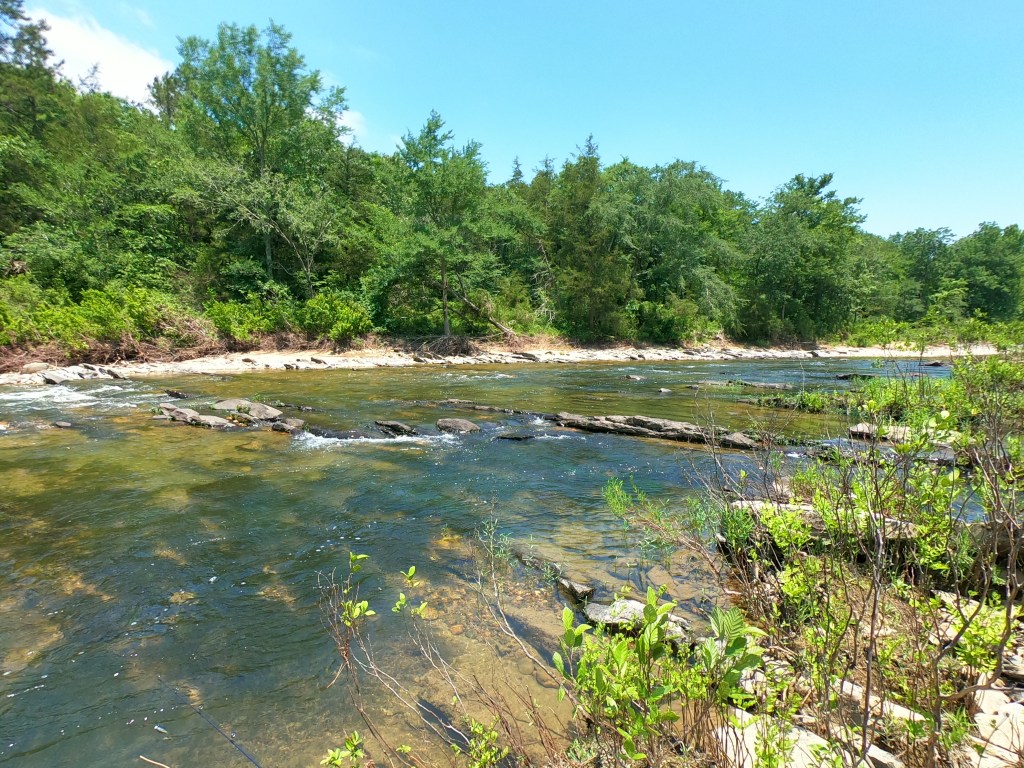
With this trip being our first to this river it was tough to fish as much as we wanted to. I’m sure that sounds odd but we wanted to explore as much as we could and considered this trip more of a reconnaissance run than anything. All told, we only covered about 6-7 miles of river. We wanted to get a feel for the place, to see what kind and size of fish we might encounter and to scout out access and camping spots.
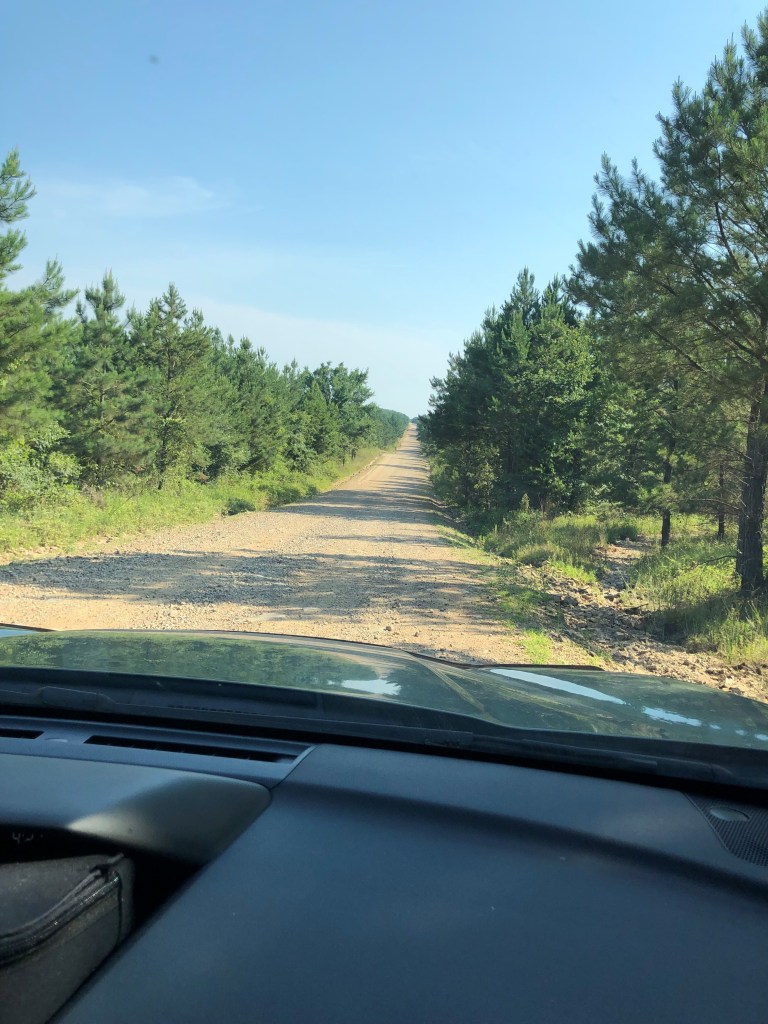
The forest roads to the Cossatot River weren’t too bad.
We drove through sections of clear-cut areas and since this is logging country it was to be expected. It was nice to see large swaths had been replanted and were doing well.
Upstream from the Ed Banks Access was a “snot rock boulder fest” and wasn’t a lot of fun. I’m not a fan of snakes and we had seen our fair share. Thankfully none of the ones we encountered were venomous. But where I was, I was on constant alert.
She wanted no part of the upstream side and opted to head downstream. Wiser choice I will admit. After about an hour I joined her on that side and it is much easier. We caught a ton of perch and little Velox. All told we caught 27 fish with one being a nicer smallmouth bass.
DCIM100GOPROGOPR0184.JPGDCIM100GOPROGOPR0183.JPG
After several hours of fishing some local kids showed up in trucks and on ATV’s. There must’ve been 20 of them and they were rowdy. We decided to move on to another access point we had seen on the map.
We pulled into the Brushy Creek Access Area at the northern end of the park area and noticed it was Day Use Only. No water and pit toilets but they were nicer than the others we had encountered.
Since we had left before dawn, we pulled out the camp kitchen and stove and made coffee. We talked and decided on which gear to use for fishing this area and suited up.
This is a really nice area as the stream flows through a mountain pass here. I opted to use my fly rod for this section since there was no wind and the river just screamed “FLY ROD.” I used my Loop Evotec Cast 390-4MF and the Hardy Ultraclick fly reel.
In short order I hooked 5 fish and had a blast with the 3wt. Upstream the river changed into a mine field of boulders, slippery rocks and trees, so I broke down the fly rod and strapped it to the Yeti Panga 28 and continued fishing with my baitcast setup. 4ft 6in rods are easier to maneuver with than 9ft rods lol.
We traveled upstream quite a ways until we came to a spot where we would have to swim across to continue. There is a lot of boulder hopping to get to certain fishing spots so if this is not your thing keep that in mind. My fishing backpack is waterproof so swimming/floating across wasn’t a big deal for me but her pack is only water resistant and she didn’t want to attempt the crossing.
A big shout out to the wife here…I get so focused on fishing that I rarely take pictures. If it wasn’t for her…this series would be really short!
After hitting the obstacle, we decided to head back to the car and try another section of the river. On the way back we ran into some locals who were cooling off in the river. We chatted for a bit and continued on our way.
Looking over the map, we opted to drive to the Ed Banks Access Area.